Add an Image to a Blog Post Novice Novice tutorials require no prior knowledge of any specific web programming language.
A great way to add interest and visual context to a blog post is through images. With WordPress adding and managing them is easy.
To add an image to your blog post:
- Open WordPress Dashboard (Ex: http://yourwebsite.com/wp-admin)
- Click the Blog Posts tab
- Select the blog post you want to add an image to.
- Click the Add Media button

- You can add images in a couple of ways:
- Upload Files - click the Select Files button to select a file on your desktop.
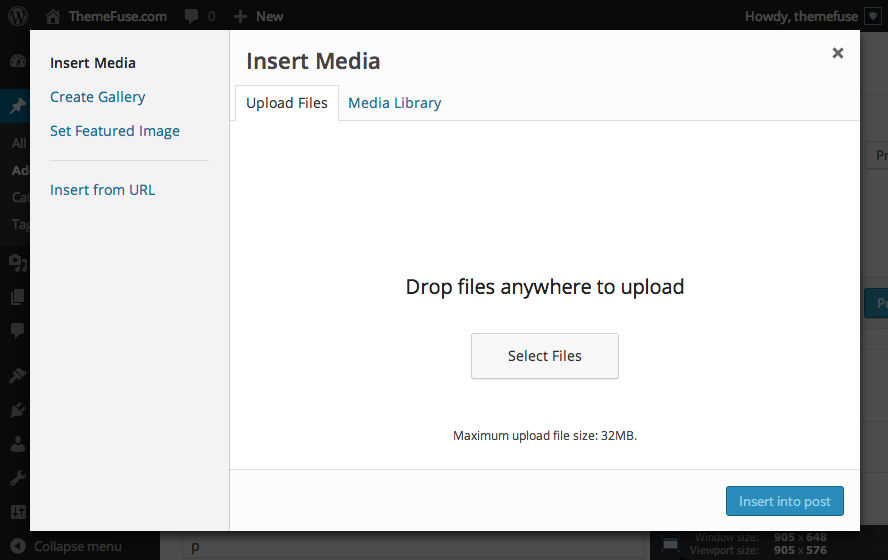
- Media Library - choose from previously uploaded images from Media Library.
- Insert from URL - enter the URL path to the image.
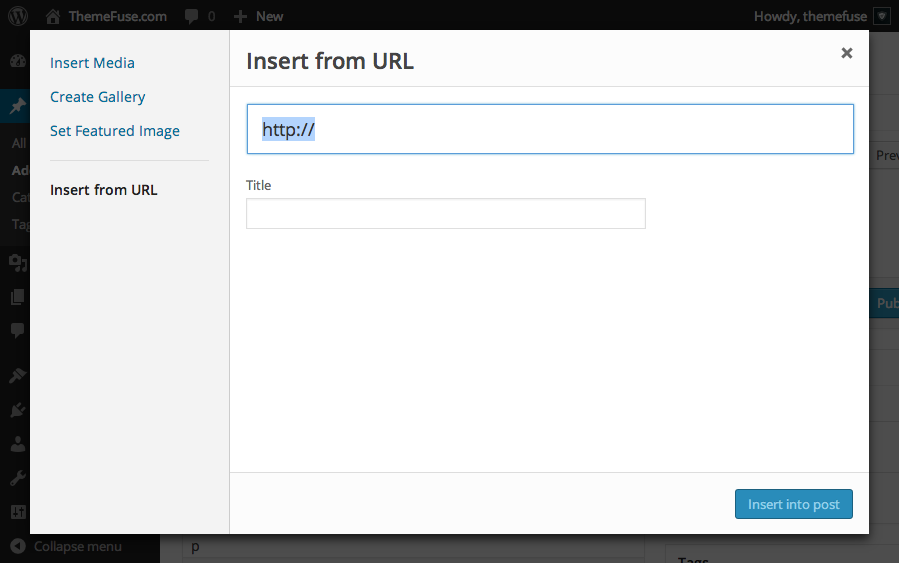
- Click Insert into post
- After you've added the image into your blog post, don't forget to press the Update button in order to save your changes
